Adhoc file import
This page will give you insights to use external adhoc file like csv for your communication.
FOR EMAIL
STEP 1: The adhoc file creation
Begin with an empty file for instance - HEADERS (titles) are mandatory for each column.
Some columns can be empty but the titles / headers are mandatory (in order for the mandatory tags to work afterwords).

See here and example of adhoc file.
General Rule : if your adhoc file contains customers who already have an account, we advice you to fill the following columns with the real data
The following columns always need to be filled in:- CONTACT_ID => If you can have the real contactid, please use it ! It’s a mandatory. It will allow to link the sending with the real account. To remind you, it is built with ‘MDKT’||personidIf you can not have it, use: ADHOC[country code with 2 letters]_[email adress] Ex: ADHOC_FR_guillaume.pecheurdecathlon.com- EMAILADDRESS (respect this naming)- TRACKING_ID => If you can have the real tracking_id, please use it ! It’s a mandatory (in database, use the ctm.d_personne.shared_id). If you can not have it, use “ADHOC”. The tracking ID is useful for Ysance tracking which enables the info to get back in the DMP. It is automatically inserted in each link. It is a mandatory field in order to be able to use the data extension.- TOKEN_ID => This ID allows allows your customer to unsubscribe. If you can have the real token_id, please use it ! It’s a mandatory (in database, use the ctm.d_personne.token_personne). If you do not have this data, fill with 1, 2, 3 ….. However unsubscribe link will not work well.The following columns do not need to be filled in (if not useful) but the headers shall be present: lastname, firstname, point_balance, civility, zip_code
For customization, please name the fields / columns exactly as in the data model Example: FIRSTNAME (and not “Prénom” in French for instance)
Make sure no empty space is present before or after the header / titles of the columns
Select the titles of all the columns, CTRL + H (or CTRL+F regarding the software) => search for a space, replace it by nothing
All the columns added in the file could be use during the send to personalize your content. Do not use a MAILING LIST in the email column (ex: [email protected]). Salesforce cannot handle such mailing list. When your file is ready, save it in CSV format.
STEP 2: The data extension creation
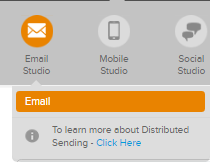
Click on Email Studio> Email
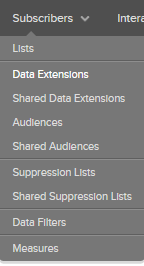
Click on Subscribers > Data Extensions
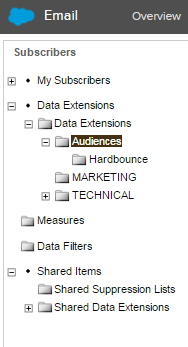
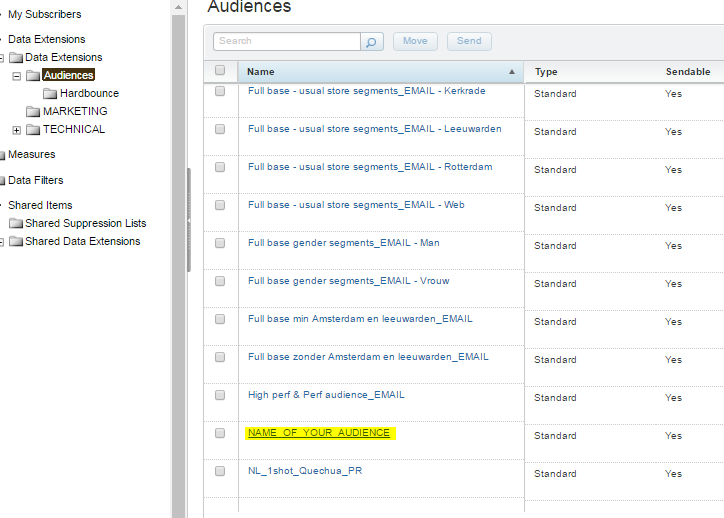
Select the folder (on the tree view) where you want to save your audience
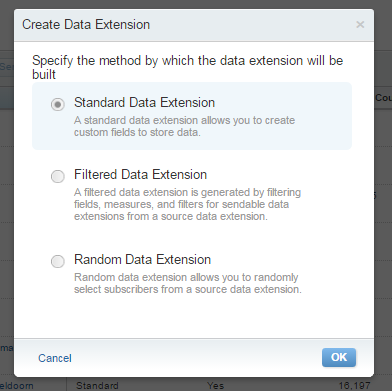
Click on Create
Choose Standard Data Extension
Fill in the name of your audience, and tick “Is sendable” & “Is testable”
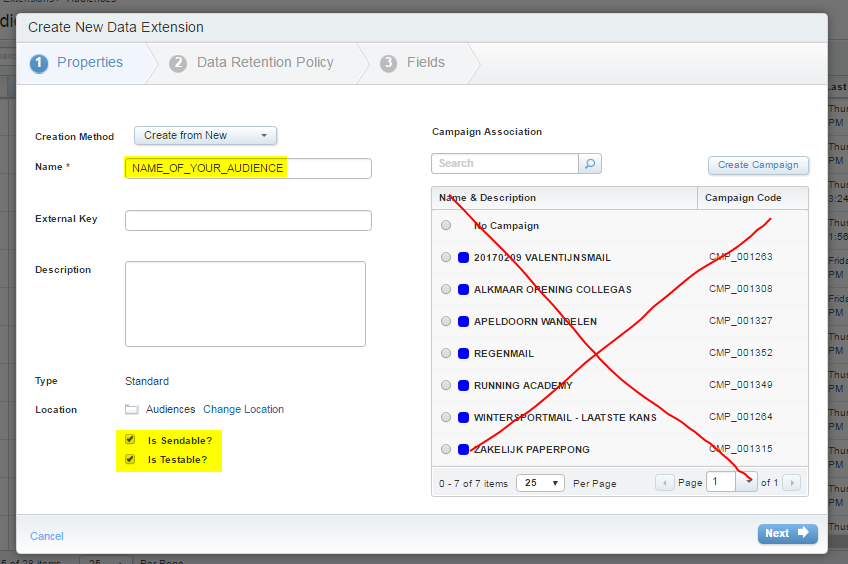
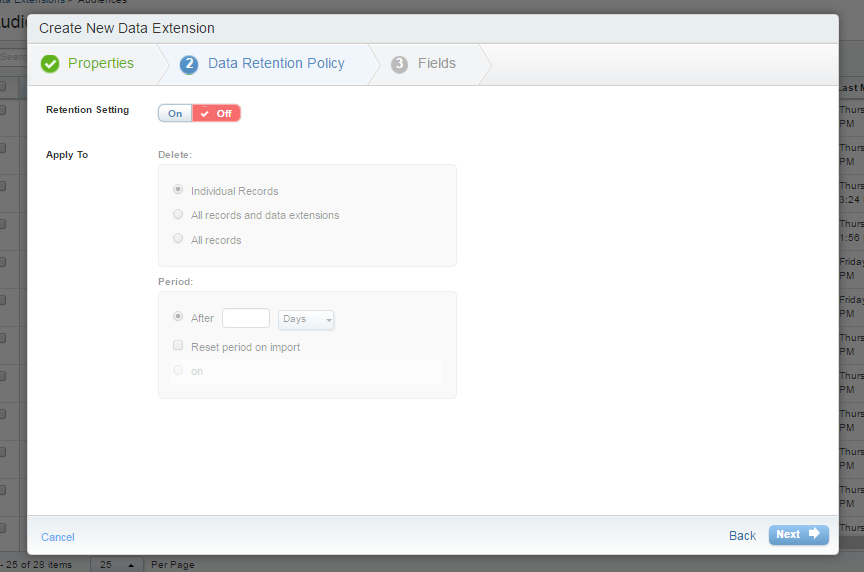
Click on Next (nothing to do)
- Fill in your headers according to your file’s headers
- Always respect the Data type (text, number…) Ex : Email: Change the Data Type by “EmailAddress”, and tick “Primary Key”
- Tick “Nullable” for every single variable.
- Don’t forget to delete the last field automatically generated by the platform
- Send relationship “CONTACT_ID” relates to subscribers on Subscriber key (select CONTACT_ID):

STEP 3: The import of the adhoc file
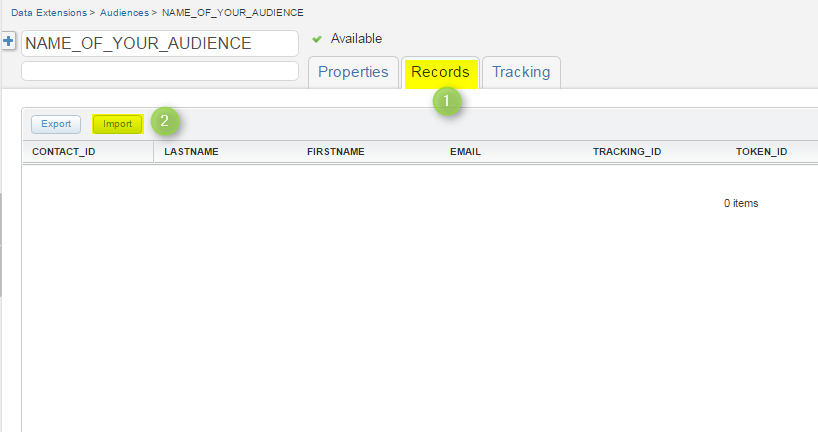
Click on your data extension
Click on Records, then Import
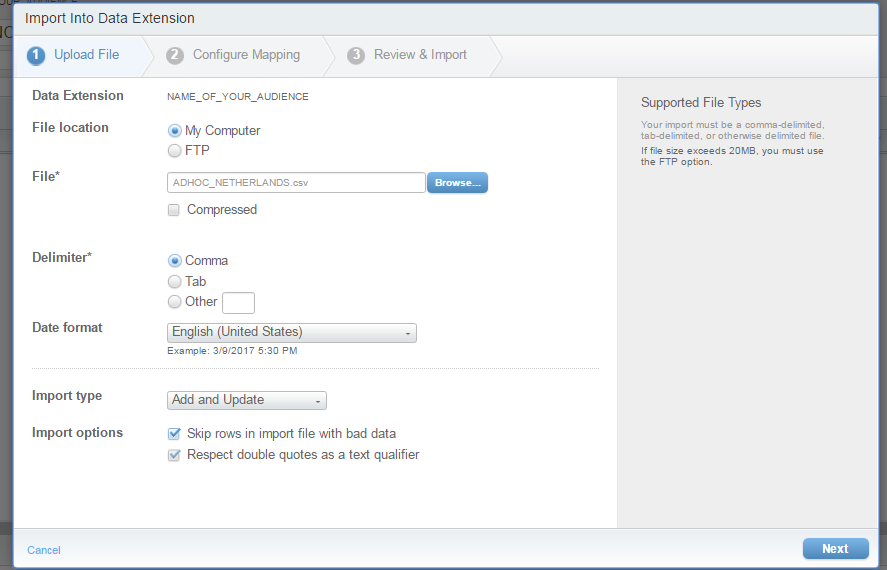
Download your file, and tick the two squares “Skip rows…” and “Respect double quotes…” Once is done, click on Next
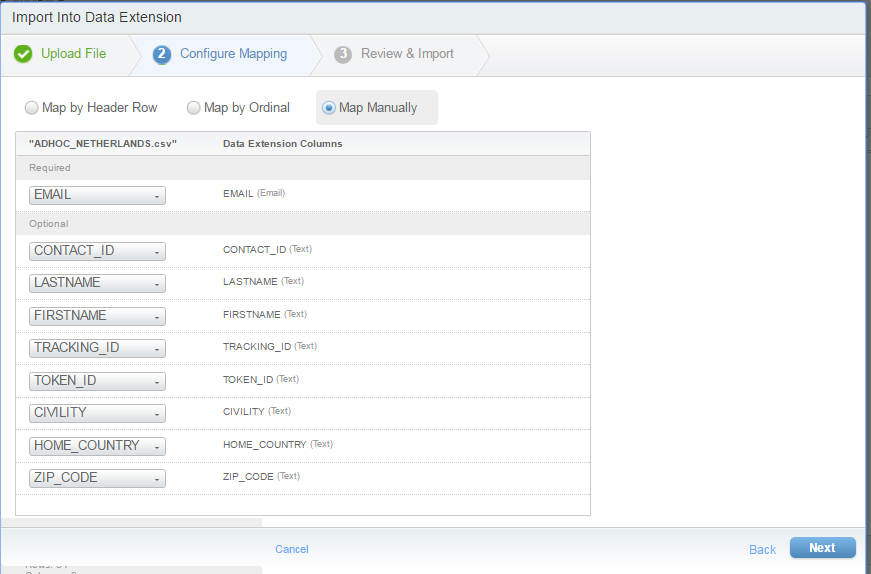
Click on Map manually Verify if everything is ok. When it’s good, click on Next
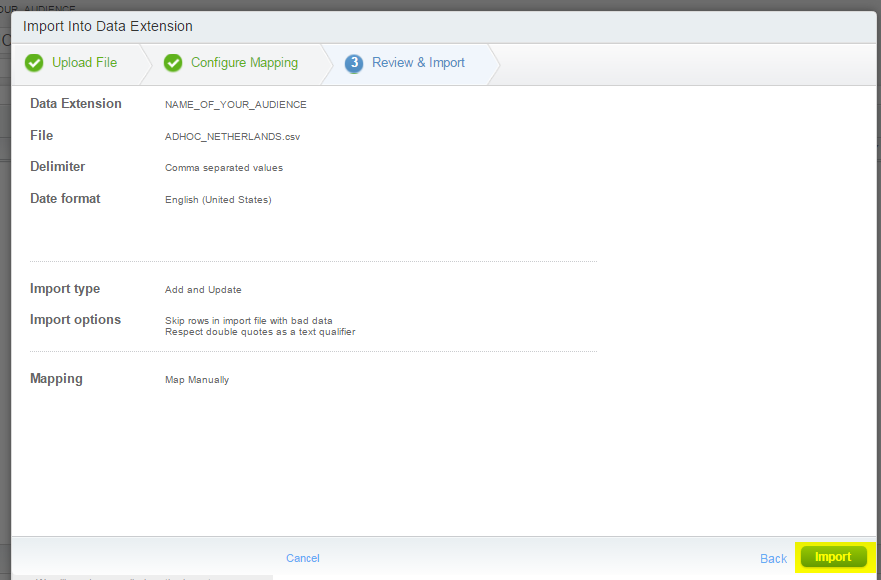
Click on import
If you meet some trouble while matching the colums, it means that your file hasn’t been properly extracted. What you have to do? Go to Libreoffice, save your file as CSV, and choose a comma as a separator ( , ). By default in Excel (most of the versions), your file will be saved in CSV with a semicolon as a separator ( ; ). It will not work! Salesforce works with a comma. So please be sure you saved your file in CSV with a comma as a separator !
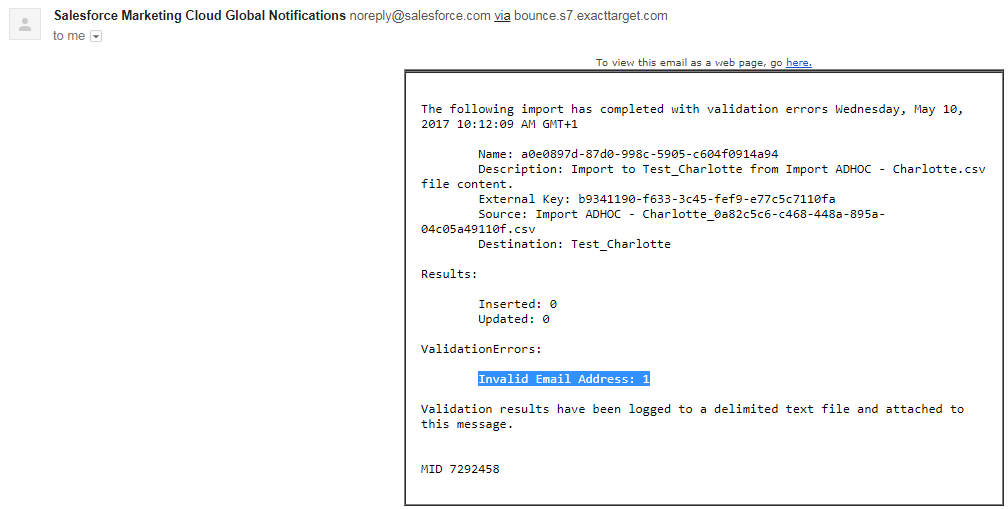
Check the email you received further to the import Different status are available in the email : Inserted / Updated / Skipped / Errored
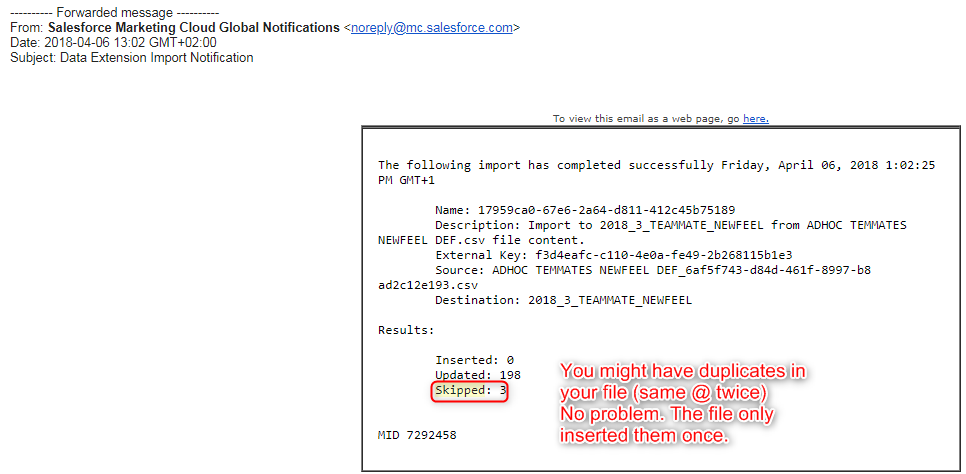
The important status is “errored” :
Your adhoc file = a dataextension
Selecting an audience + a dataextension in the email sending step is not possible
FOR SMS
STEP 1: The adhoc file creation
You can use this example to build your excel file
Mobile numbers have to be formated with the country code like : 336XXXXXXXX (french example)
STEP 2: Import your file in Salesforce
- Go to Mobile Connect and click on add contacts

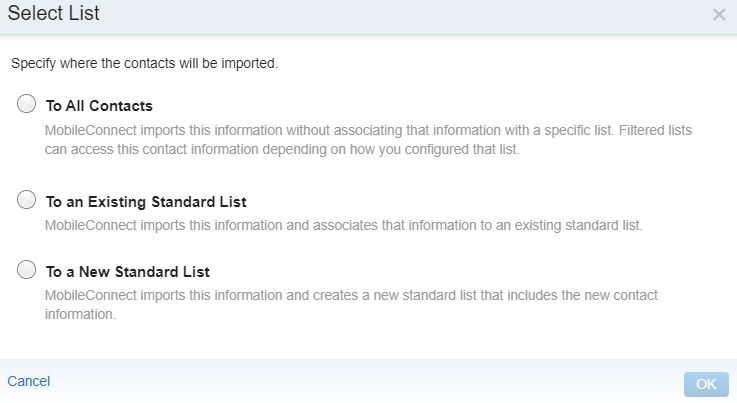
- Select the option to a new standard list
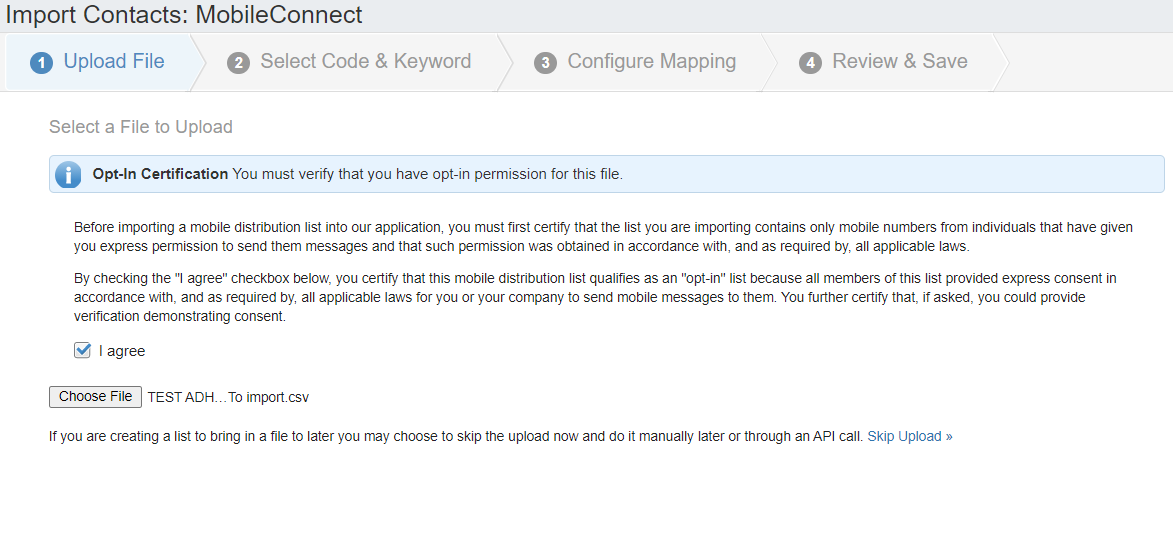
- Upload your file and tick the opt-in certification box
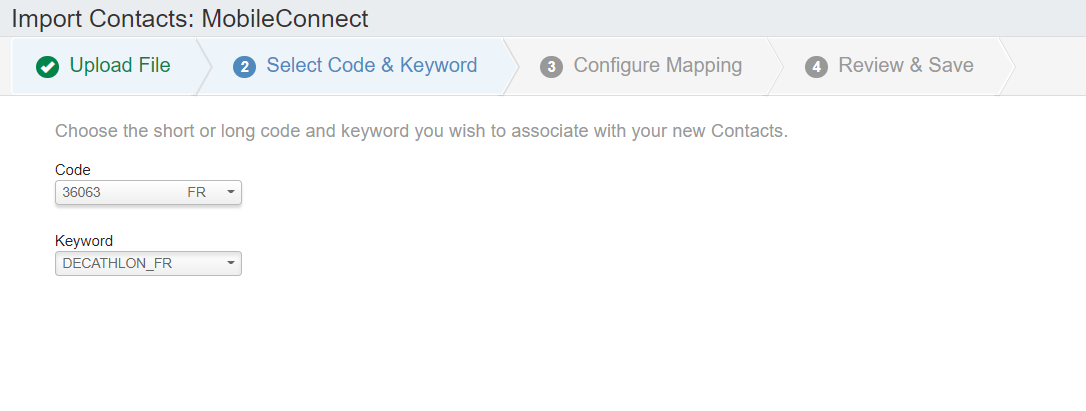
- Select the code and keyword for your BU
- Select map manually to link the correct attributes to your column name
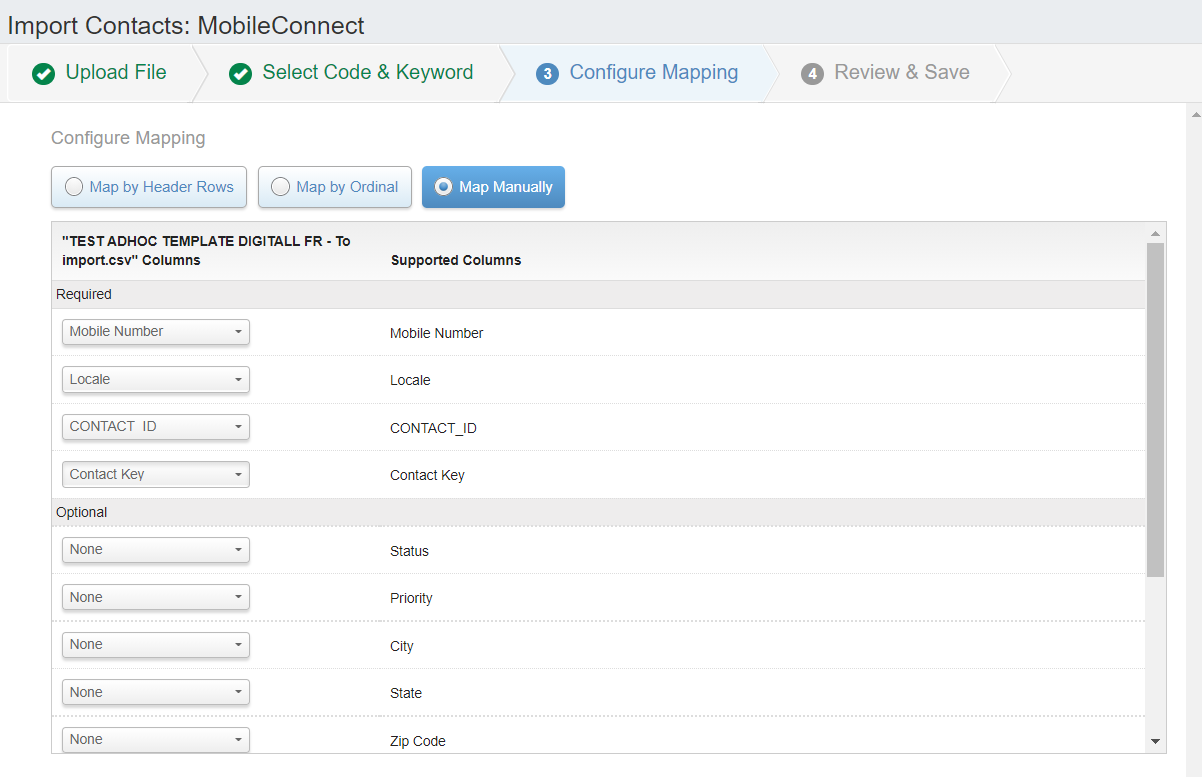
- Review and enter your email address to save the file and get notified when the import is completed
